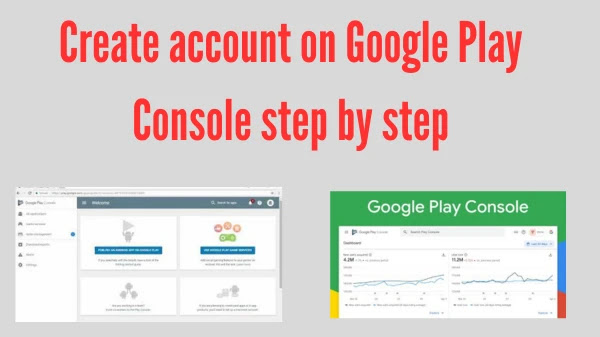
Create account on Google Play Console step by step
A comprehensive walkthrough to help you set up your Google Play Console account hassle-free.
Maputo, Mozambique - Are you ready to publish your app on the Google Play Store? Creating an account on Google Play Console is the first step towards app development, distribution, and monetization. In this step-by-step guide, we will walk you through the process of setting up your Google Play Console account smoothly.
 |
| Create account on Google Play Console step by step |
Step 1: Visit the Google Play Console website
- Access the official Google Play Console website by typing "play.google.com/console" in your web browser.
Step 2: Sign in with your Google Account
- Use your existing Google Account credentials or create a new account if you don't have one.
Step 3: Agree to the Developer Distribution Agreement
- Read and accept the Developer Distribution Agreement to proceed.
Step 4: Complete your Developer Profile
- Provide your developer name, contact email, and any additional information required to set up your developer profile.
Step 5: Pay the one-time registration fee
- Pay the one-time registration fee, which grants you access to publish apps on the Google Play Store.
Step 6: Set up your Developer Account
- Fill in the necessary details, including your account type (individual or organization), name, and contact information.
Step 7: Agree to the Google Play Console Terms of Service
- Read and accept the Terms of Service for Google Play Console.
Step 8: Verify your account
- Verify your account through a verification code sent to your registered email or phone number.
Step 9: Complete your Developer Console setup
- Customize your developer profile, add your app's branding, and provide any additional details required.
Step 10: Access the Google Play Console Dashboard
- Once your account is set up, you will be directed to the Google Play Console Dashboard, where you can start managing your apps.


.webp)

-Otimizado-para-SEO.webp)


